
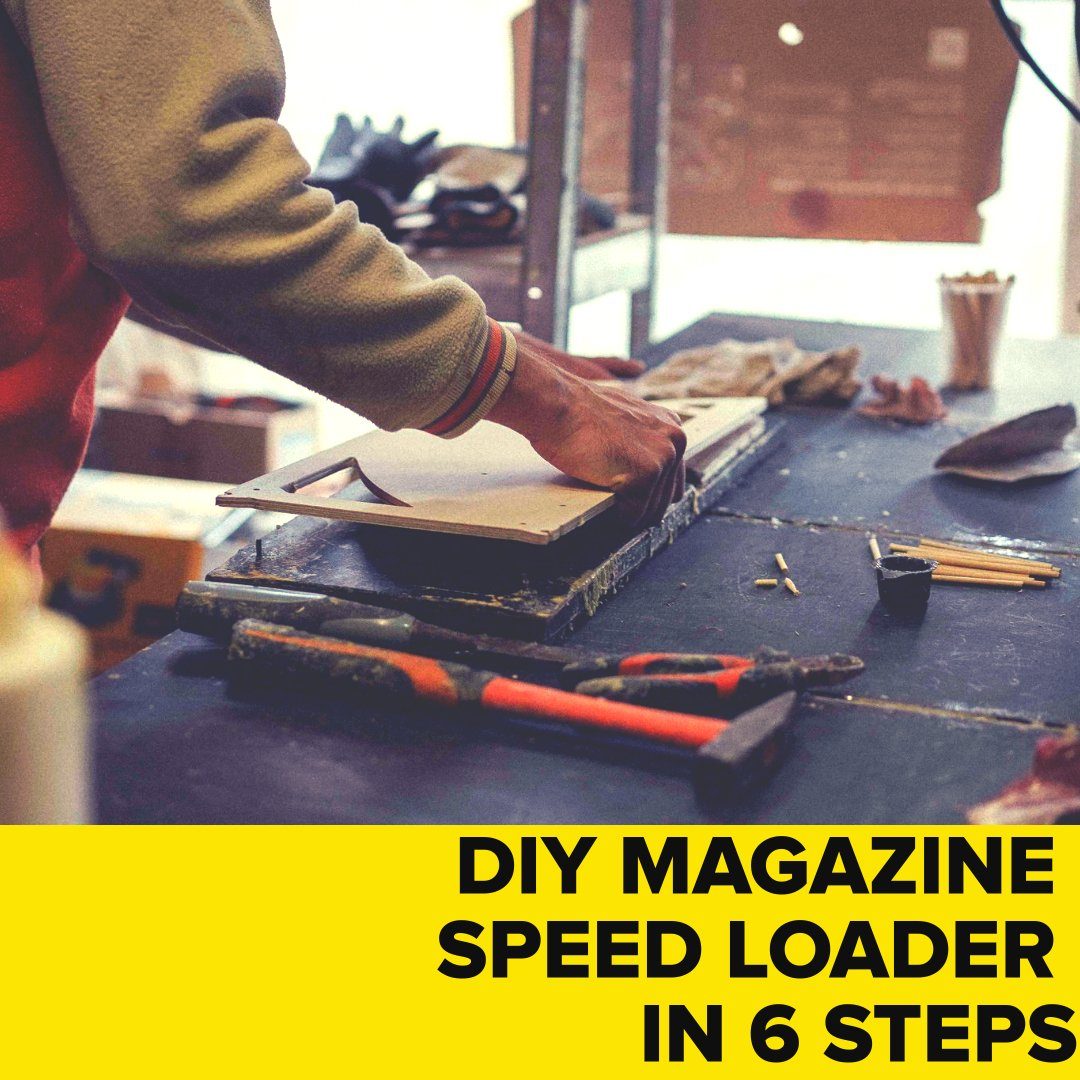
DIY Speed Loader Steps: Create Your Own in 6 Easy Steps

Being the ones who started from a DIY speedloader, we have decided to share this experience with you and guide you through the steps of DIY-ing AR-15 magazine speedloader.
Before you decide to DIY your magazine loader, think of the design that would match your preferences and take the measurements into account on the slot. For instance, if you want to load more ammunition at once, the track has to be longer.
And here are the materials you will need to DIY a 5.56 magazine speedloader:
- 1x12s
- 3/8" Plywood
- Drywall Screws 2"
- Metal Rod
- Scrap 2x4
- Wood Glue
Now, to the steps of the manufacturing process.
By the way, you can get a 10% discount from PODAVACH.
How to get it?
- Make your Do-It-Yourself Speedloader
- Make a post in your Instagram with your DIY Speedloader, and use hashtags: #diypodavach2020, #podavach, and tag @podavach_llc
- Send it to our @podavach_llc direct message.
- Receive your unique discount from us.
Step 1: Materials preparation

The design has 4 layers in total:
- Base layer
- Dimension layer: 26" length and 8-1/4" width
- Spacer layer (3/8" Plywood), Bullet Track Layer, Top Layer
- Dimension layer: 16-1/4" length and 8-1/4" width
Now, you should have a 7" 3/4x1" piece of wood for the dock.
Step 2: Creating the hole and channel

- In the center of the top and bullet track layer, draw a circle of approximately 6", leaving 1" on the sides
- On the top layer, draw a centered 1-1/4" channel that has to go down the rest of the board.
- On the bullet track layer, draw a 2-1/4" channel.
- Cut out the design you drew
- Sand both layers to ensure they are flush when stacked
Step 3: Assembling
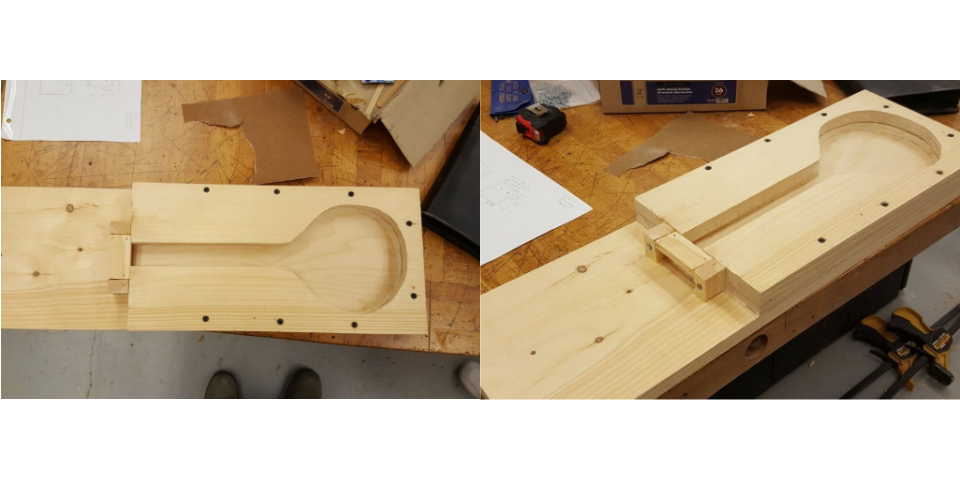
- Stack all your layers in the following order from bottom to top: base layer, spacer layer, bullet track layer, top layer
- Glue and screw the layers using the 2" Drywall Screws (Pre-Drill)
Screws should be 4" apart and 1/2" off the edge on both sides. The width should be 2" on the sides and 3/4" from the back edge.
Step 4: Making a holder

- Take the 3/4x1" piece of wood and cut it into one 2-1/2" piece and two 1-1/4" pieces.
- Take one of the 1-1/4" pieces and cut a notch in the top of. The notch has to match the size of the magazine.
- Take one of the two smaller pieces and place it around the magazine in the proper position on the channel to ensure that the bullets would feed in the position properly.
- Pre-drill the holes and glue and screw the pieces into the base at a diagonal angle.
- Cut the top piece flush between the top of the magpacker and the magazine. Attach the piece to bridge the two outer pieces. Use glue to attach firmly.
Step 5: Making the runner and rod

- Cut a metal dowel rod of any length and thickness.
- Put your magazine into the doc and mark a spot at the right side edge. Now, drill a hole that would fit the rod you use.
- To make a runner, cut a piece of scrap wood to the width of 1-1/4".
- Start sanding to an ergonomic feel
Step 6: Finalizing the product

The last step in DIY-ing a speedloader is to choose a color you like and apply it. Now, leave your loader for 3 hours to dry.
There you have it! That is exactly what we did when working on the first PODAVACH U-loader. And after 5 years of development of U-Loader, we have come to the present version.
DIY Speed Loader
VS
PODAVACH U-Loader AR-15 + AK

Source of guide itself and images: https://www.instructables.com/id/DIY-Magazine-Speed-Loader-Magpacker/
Make your shooting practice more efficient and fun with our exclusive shooting targets. Download now for FREE!
Or Get the Real Thing
- U-LOADER — Skip the DIY — the U-LOADER is built to last.
- MAG LOADER X — Professional-grade hardwood bench loader.